Assess snow and ice roof damage in Independence, MO by checking drainage, load indicators, flashing, and freeze-thaw effects before setting repairs.
A winter leak can start with a blocked outlet, a split seam, or water refreezing at a roof edge. Snow and ice also add weight, but the roof condition cannot be judged from the ground alone. Across Independence, a commercial roof needs a roof-specific review after freeze-thaw exposure. We check safe access, drainage, membrane transitions, and visible structural signs before recommending repair.
Check Conditions Before Access
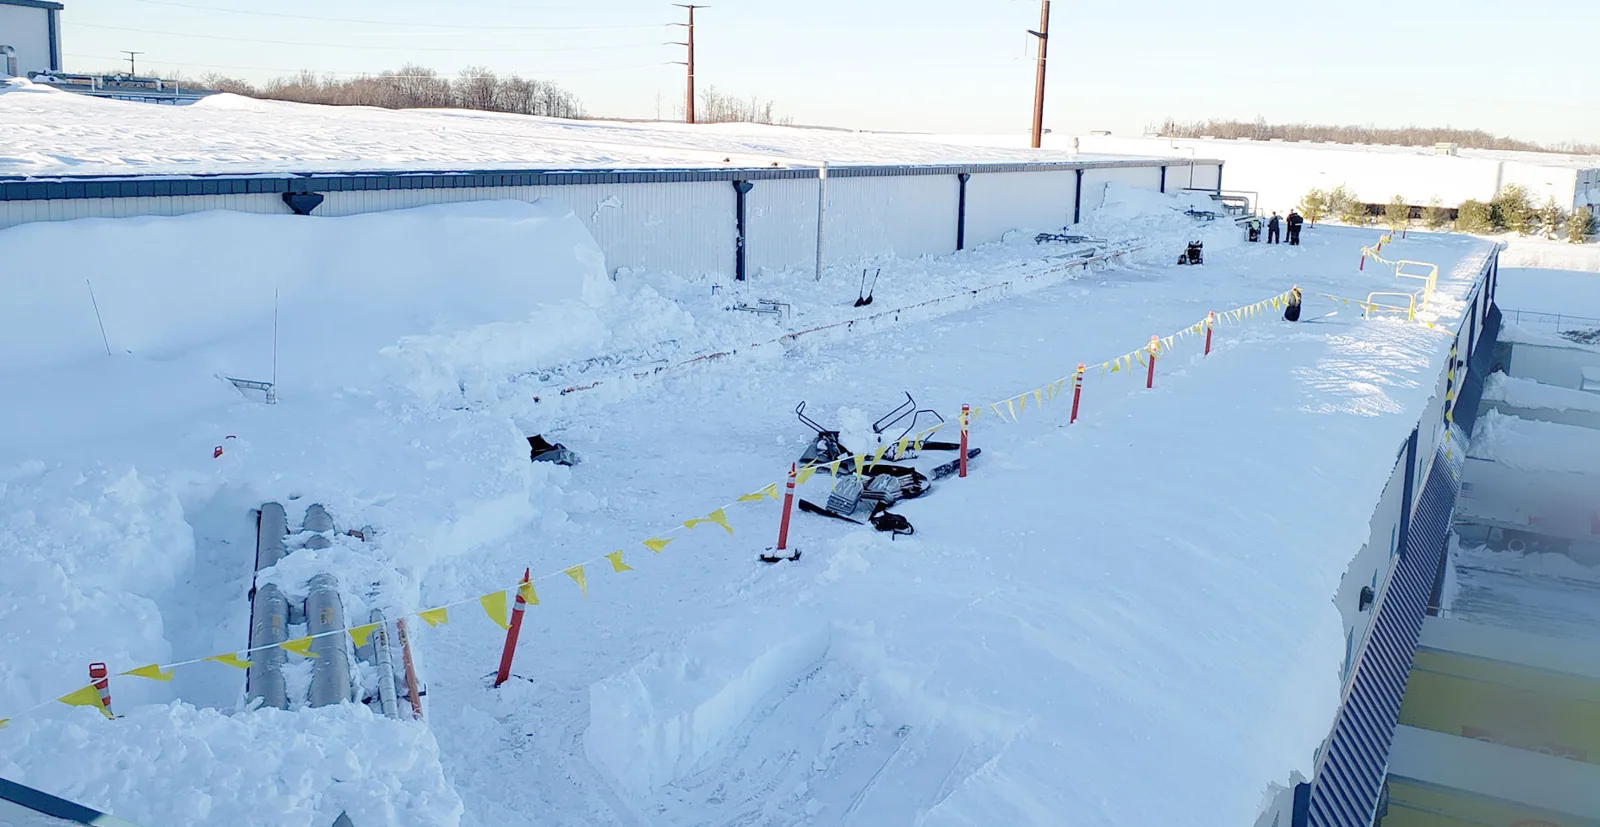
Do not walk a snow-covered roof to find a leak. Hidden skylights, drains, brittle surfaces, and ice can make the route unsafe. A wide pond or visible deflection also calls for caution. We first inspect from safe access points and ask the facility contact to report interior changes, door or ceiling movement, and areas where water has entered. When structural capacity is in question, a structural engineer should evaluate the condition before roofing work proceeds.
Kansas City January normals include a high of 39 degrees and a low of 20 degrees on January 1. That describes a metro station, not the exact temperature or snow load at a roof in Independence. It does show why freeze and thaw can recur in the region. We check the surface temperature, material condition, and weather window before using repair products that need a dry substrate.
If water is entering, protect the interior and identify the active path. Emergency calls are answered around the clock, including holidays. A temporary protective measure can limit water entry when safe access is available. A temporary measure must not trap water or add unsafe load to a roof with snow or standing water. We record the cover boundary and return when conditions allow a permanent inspection.
Trace Ice at the Transition
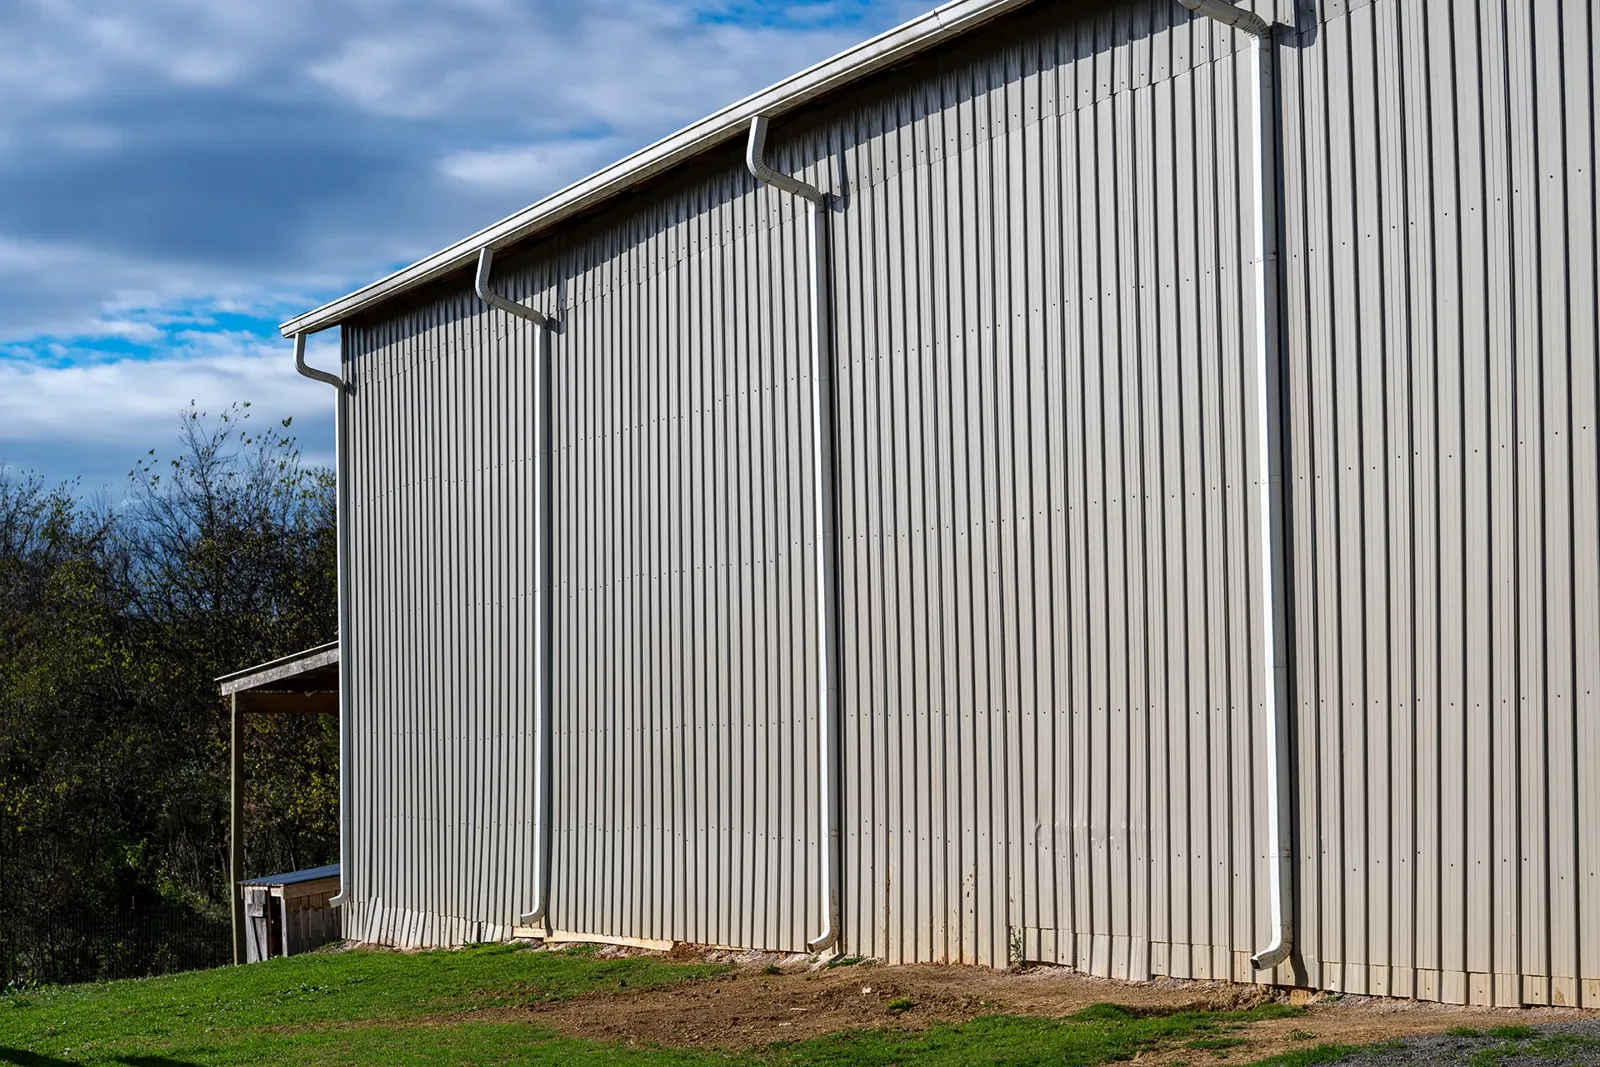
Ice can form where warm interior air reaches a roof edge, where a drain is slow, or where melting water refreezes along a cold perimeter. An ice dam can send water below flashing even when the membrane field is intact. We inspect drains, scuppers, overflow paths, parapets, gutters, and wall terminations. Look for displaced metal, open laps, split sealant, and water marks that track back from the edge. A roof-level review should identify the transition that failed rather than treating every winter leak as a membrane tear.
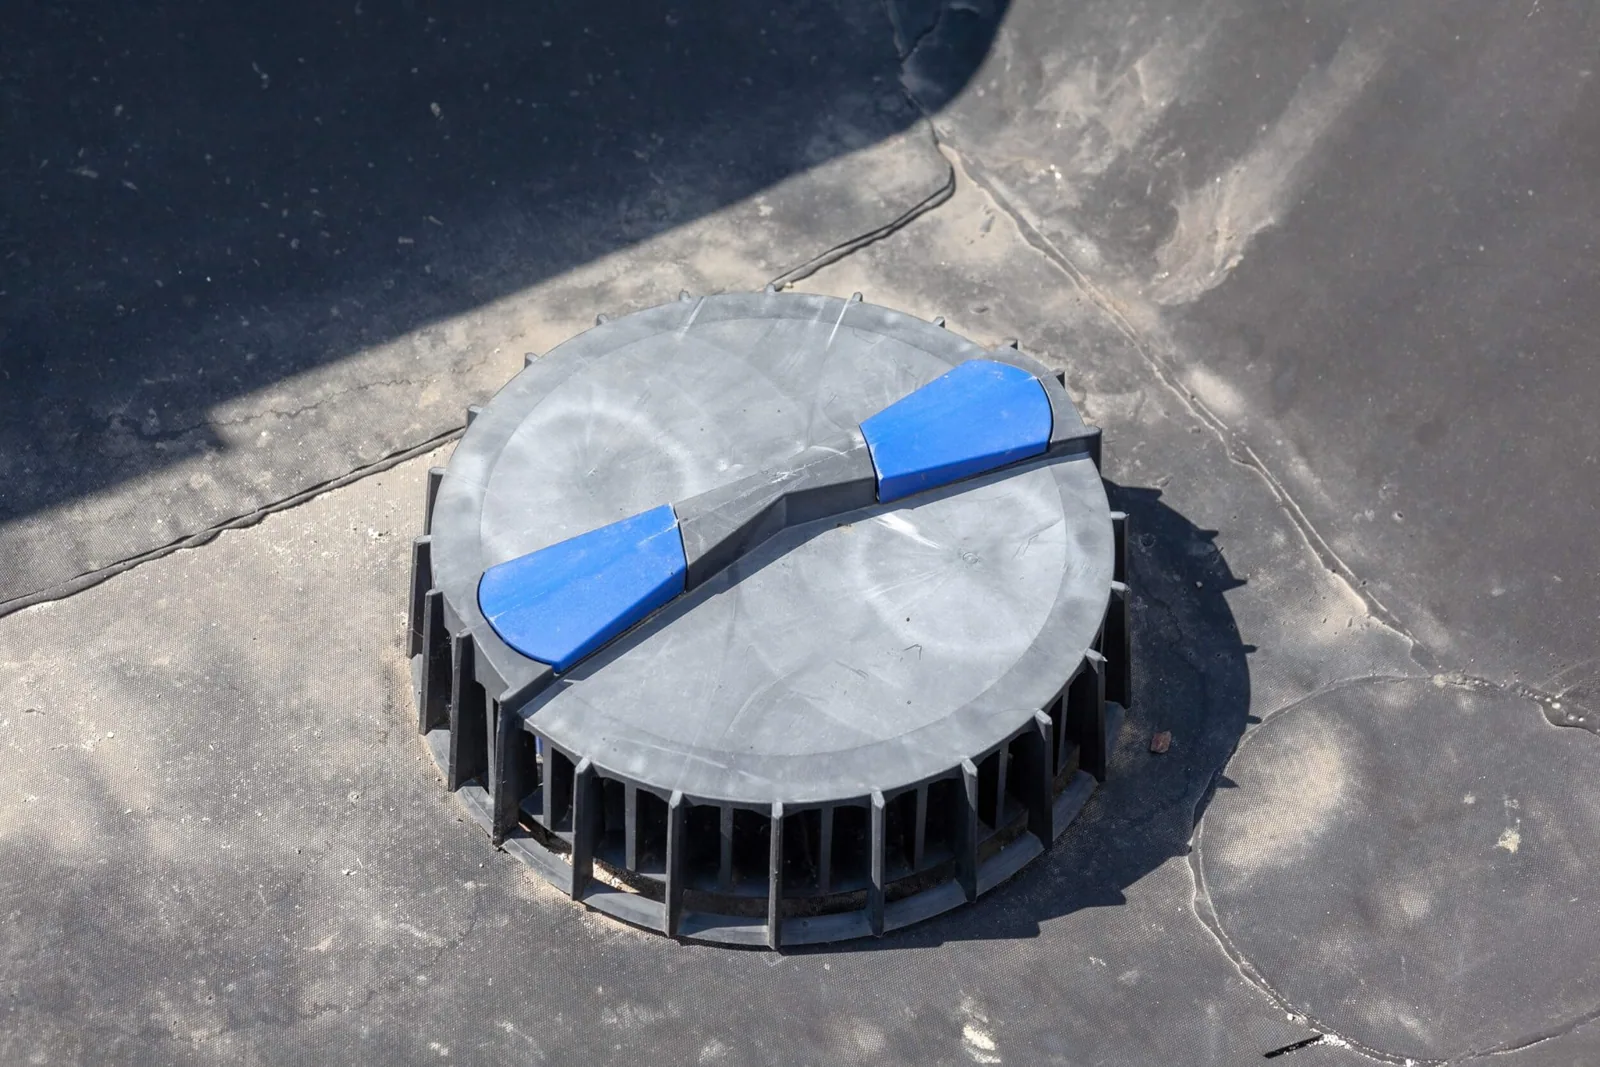
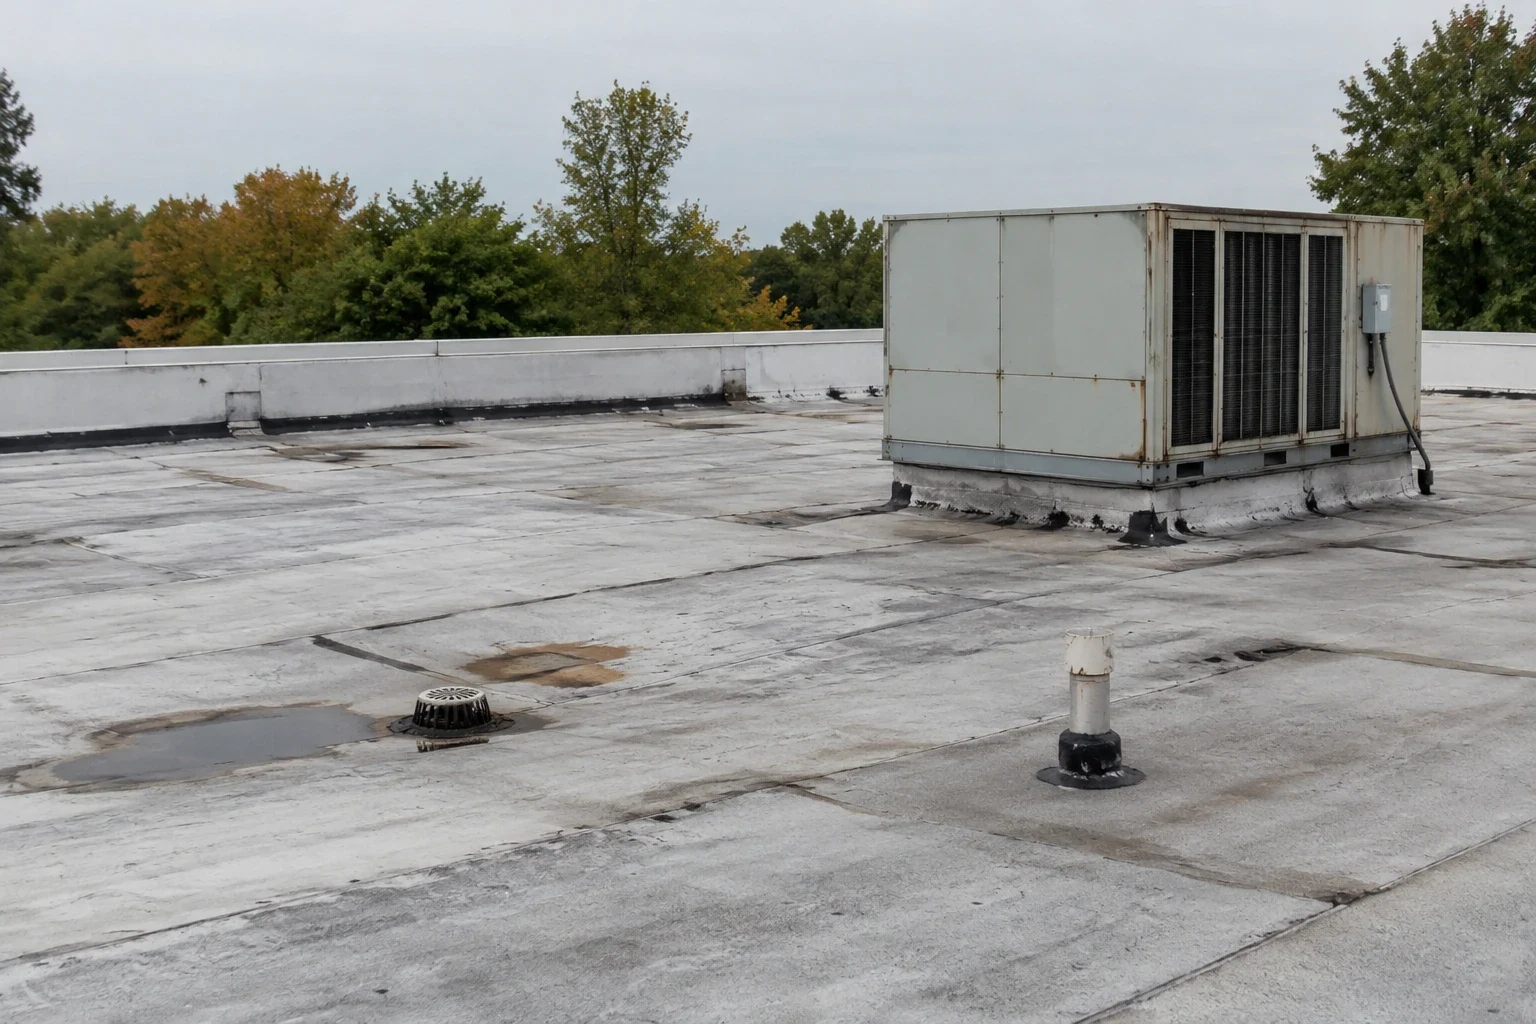
On low-slope roofs, snowmelt follows the drainage plane toward drains or scuppers. A blocked strainer or damaged drain bowl can hold water. Ice can hide a seam opening until thaw. We check low points and compare interior staining with roof transitions. Drain and scupper service can correct a restricted outlet; coping and gutter work addresses a failed perimeter path. If moisture may extend under the surface, use moisture mapping to guide direct checks.
Snow load is a structural question as well as a roofing question. A roof's capacity depends on its design, condition, drift pattern, and existing water load. Do not estimate safe capacity from a nearby building or a general rule. If there is visible deflection, unusual sounds, a sudden increase in ponding, or a door that no longer operates normally, restrict access and seek an engineer's review. We can document roof membrane and drainage conditions after the structure is cleared.
Repair the Water Entry
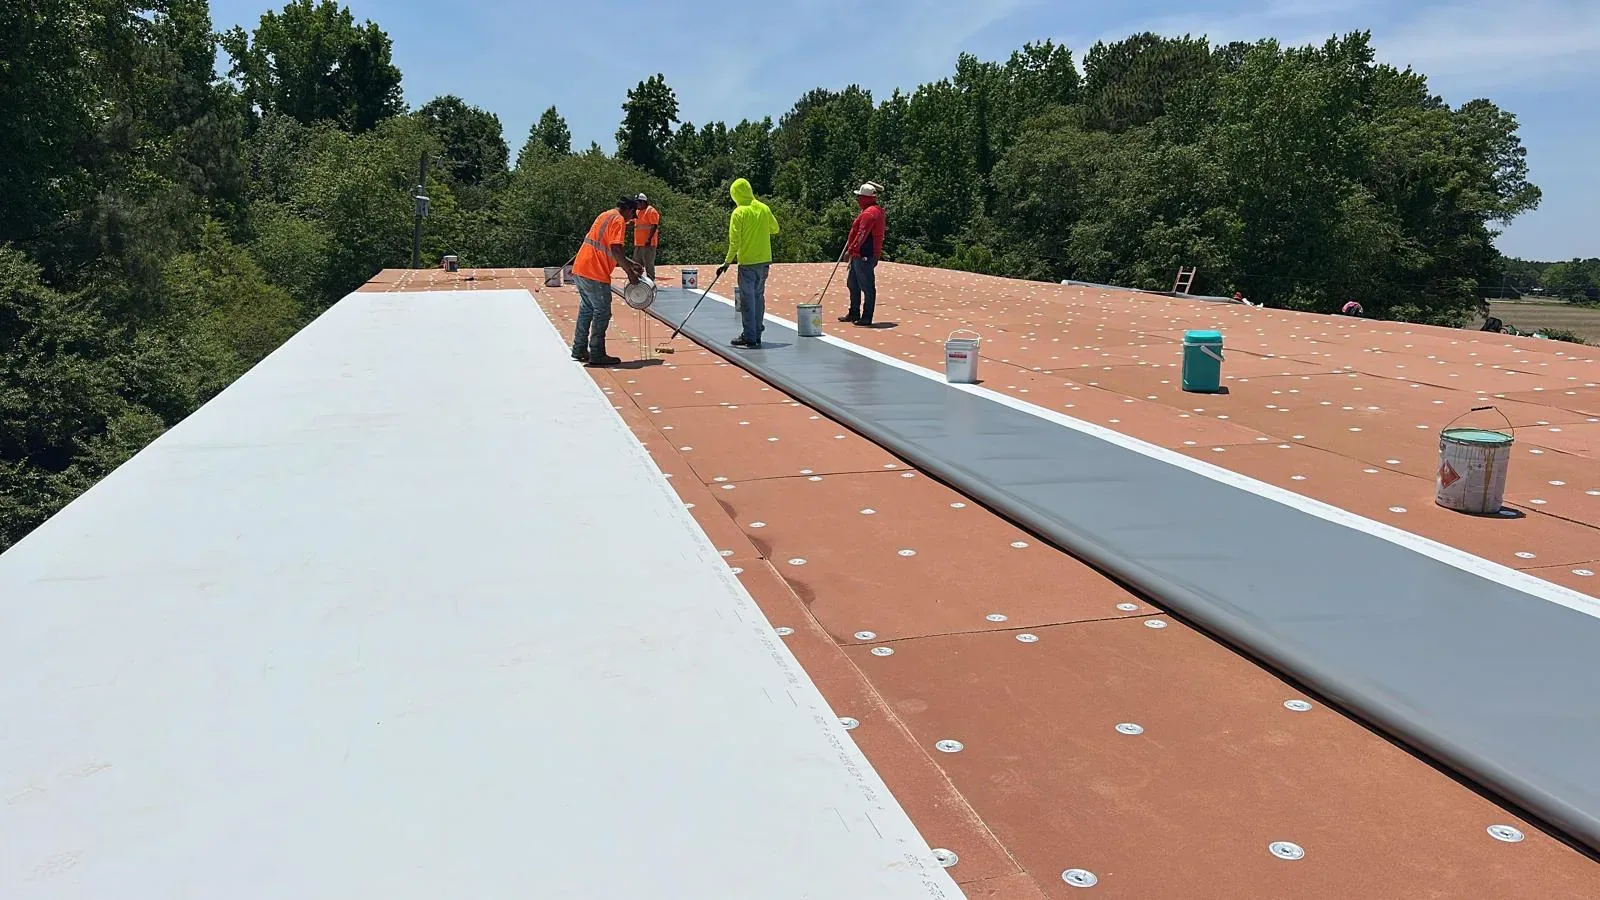
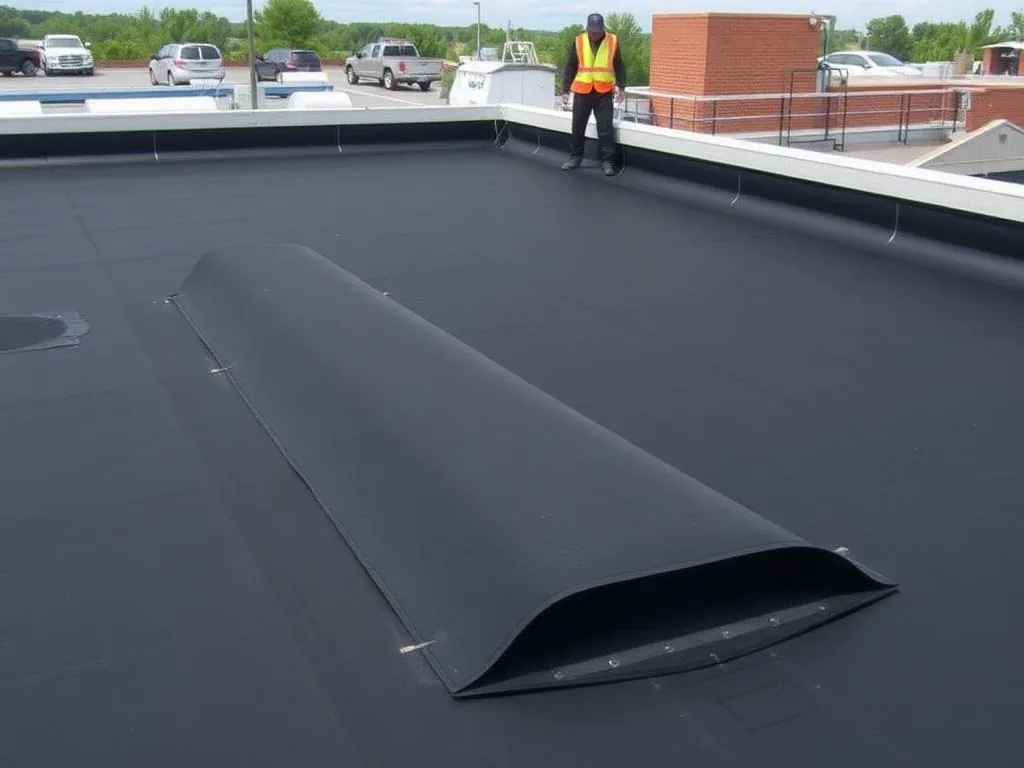
Once access is safe, identify whether water entered at a seam, penetration, wall transition, drain, or damaged sheet. A thermoplastic lap needs a prepared, compatible weld. An EPDM splice calls for its own primer and tape system. Metal flashing may need secure attachment and a continuous overlap. We remove loose material only after the roof is dry enough and confirm that the substrate can hold the repair. A sealant bead over ice, wet insulation, or moving metal will not restore a reliable interface.
Where winter water has reached insulation, test the area and remove wet material to a defined boundary. Rebuild the layers with cover board and membrane tied into dry, stable roof. TPO repairs and EPDM repairs use different details. If the roof plane has settled or drainage cannot move meltwater toward the outlet, a membrane patch is not the correction. Tapered insulation, a drain reset, or a broader assembly repair may be needed after the deck and load conditions are understood.
Cost and timing depend on safe access, snow removal constraints, weather, roof system, moisture extent, and the amount of metal or membrane to replace. If the damage spans multiple zones, compare local repair with replacement planning. A recover evaluation depends on dry existing layers, verified attachment, and the ability to meet the new system's drainage needs. We separate immediate leak control from permanent correction so the owner can see which step is ready.
Keep Winter Findings Specific
Record the location of ice, ponding, displaced flashing, interior leaks, and any roof area that could not be accessed. Take photos from safe positions and note weather conditions during the inspection. If snow or ice blocks direct testing, identify that limit and set a return check after melt. The report should describe measured or observed conditions, not claim a roof is structurally safe based on a visual review.
The roof plan and construction records, when available, help identify drainage zones and access restrictions. At a commercial property in Buckner, Missouri, confirm the owner's access plan before roof entry. Field findings govern the repair.
When wind or hail accompanies winter weather, keep the records separate. Wind-related damage requires direct evidence of movement, while flashing repair addresses a failed water transition. The scope should name each condition and the material needed to correct it.
Return After the Thaw
Some conditions become clear only after ice melts. Recheck roof drains, low areas, edges, and interior symptoms when safe access returns. Verify that the permanent repair dries, bonds, and sheds water as intended. If temporary protection remains, inspect the attachment and document the date it can be removed. The closeout should list any snow-covered zone that was not evaluated so the building team can schedule a complete follow-up.
After a thaw, compare any new interior staining with the roof areas that were inaccessible during the first visit. Check whether insulation remains damp and whether the drain or edge that held ice now releases water. Record the repair location, material, and date beside the earlier temporary protection so the building team can tell which work is complete. A follow-up inspection can test the repair after normal drainage resumes. It can also identify a recurring blockage that needs a maintenance interval or a detail that should be included in planned replacement. Keep the remaining issue open until the roof area has been inspected under safe, dry conditions. Schedule a commercial roof review in Independence after access is safe. We will trace the leak path, check winter transitions, and identify whether the correction belongs to drainage, flashing, membrane, insulation, or a structural review.
Commercial Roofing Questions
Can a roof be inspected safely while it is snow-covered?
Only from approved safe areas. Snow can hide drains, skylights, and weak surfaces. Restrict roof entry until conditions allow a complete inspection; have an engineer assess visible deflection before snow removal or added loading.
Does an ice dam mean the whole roof needs replacement?
No. We locate the failed transition and check surrounding materials, drainage, and insulation before comparing a local repair with broader work.
How do I know if snow load is affecting the roof?
Visible deflection, new ponding, unusual sounds, or doors that bind can signal a concern. Restrict access and obtain an engineer's assessment when those signs appear.
Will a patch hold if the insulation is wet?
Not reliably. Test the affected area and remove wet insulation to a defined boundary. Tie the repair into dry, stable substrate, then confirm that the surrounding attachment remains sound.